How to pre-fill PDF forms with AI agents using SimplePDF
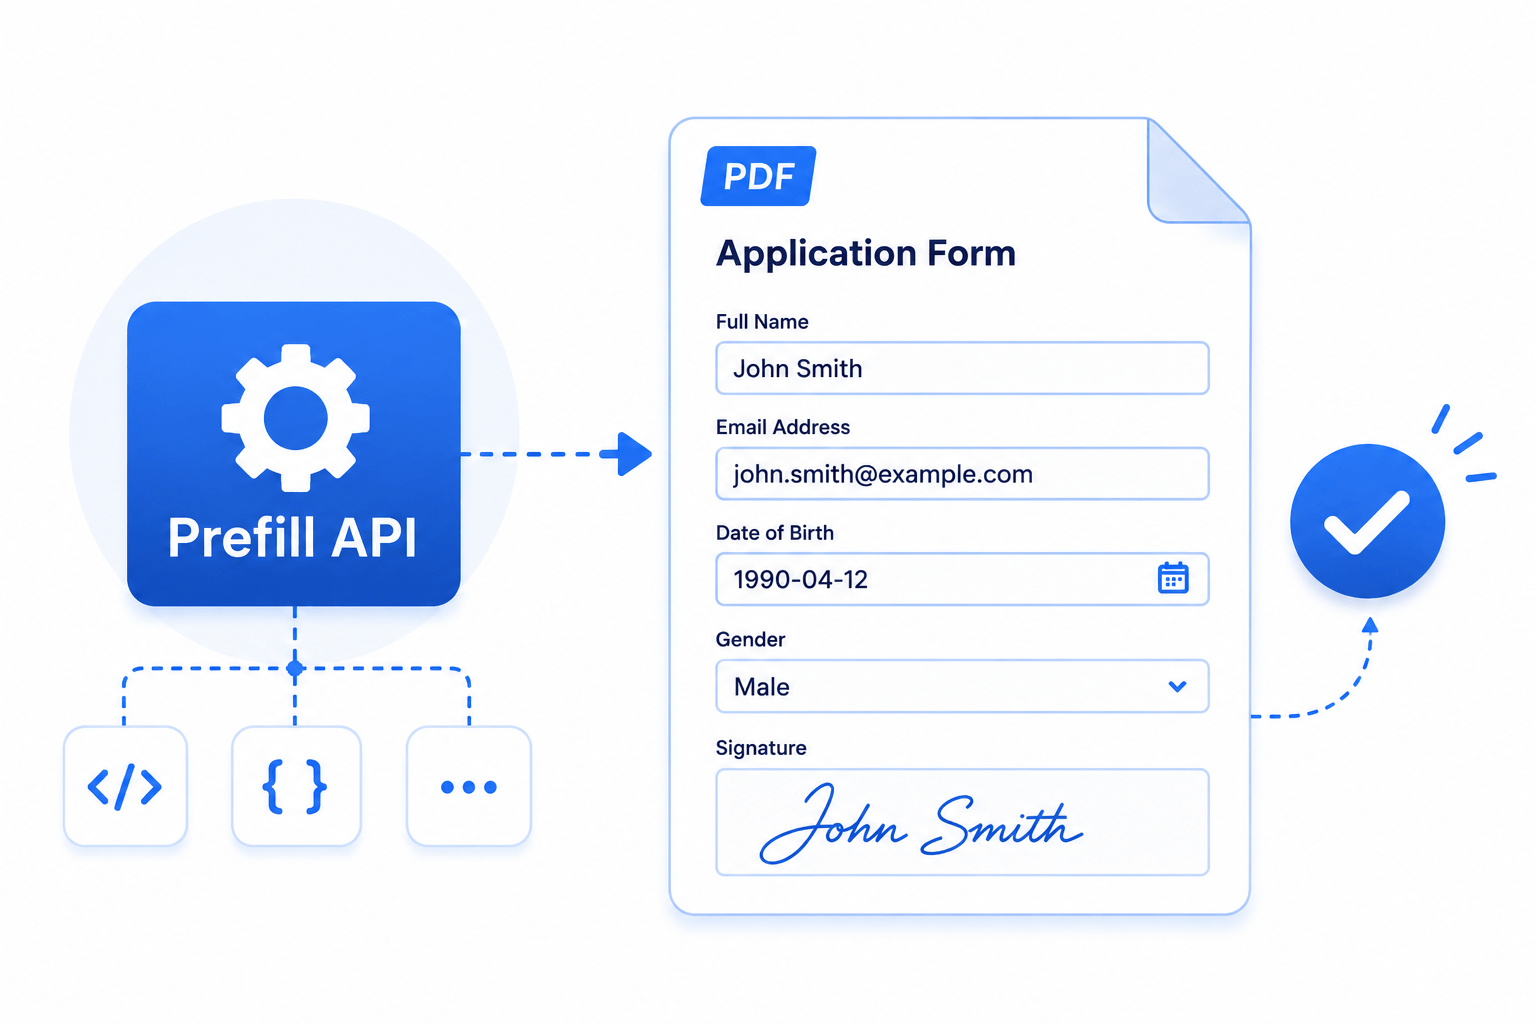
An AI agent can read a customer email, a database row, or a previous submission and work out what belongs in a form. What an agent should not do is submit a form on its own. The prefill API lets your agent prepare a fully filled-in PDF and hand it to a person to review, correct, and submit: the agent does the tedious part, a human stays in the loop for the decision that matters.
This keeps completion rates high, the recipient opens a document that is already done, not a blank form, while keeping a human accountable for what gets submitted.
This guide talks about an AI agent, but the prefill API is just an HTTP (REST) API. Any system that can make an HTTP request can use it: an AI agent, a backend job, a workflow automation, or a CRM integration. See the API documentation for a human-readable reference, or the OpenAPI spec to import into your tools or generate a client. Both document every endpoint and field.
#Connect over MCP instead
If your agent speaks the Model Context Protocol, you can skip the raw HTTP calls: SimplePDF exposes the same operations as a remote MCP server at https://simplepdf.com/mcp (streamable HTTP; you sign in and choose the organization the connection uses). Headless agents authenticating with an API key use your organization's own URL, https://$COMPANY.simplepdf.com/mcp. Every step in this guide has a matching tool (list_documents, list_fields, create_prefill, ...), plus a prefill-a-form prompt and a workflow guide resource the agent can read on its own. Only the blob upload in Step 3 stays a plain HTTP PUT, and the server hands the agent ready-to-run commands for it.
No code needed to connect. Add SimplePDF the way you add any other connector, then sign in with your SimplePDF account (Google included) when prompted:
- Claude (claude.ai or Claude Desktop): open Settings → Connectors, add a custom connector, and paste the URL above.
- ChatGPT: open Settings → Connectors and add the URL (on ChatGPT plans that support connectors).
- VS Code (1.106 or later): run MCP: Add Server, choose HTTP, and paste the URL above.
Signing in authorizes the connection as you: actions are attributed to you in the audit logs, and you need to be a member of the workspace. Each app connects to one organization at a time: authorizing it again with another organization moves the connection there.
Clients that cannot sign in this way (Cursor, Gemini CLI, Le Chat, Microsoft Copilot Studio, Perplexity) connect with an API key instead: point them at your organization's own URL, https://$COMPANY.simplepdf.com/mcp, with the header Authorization: Bearer $API_KEY (the same key this guide uses). That URL accepts API keys only, which also suits headless or shared agents. Actions made with a key are attributed to the key in the audit logs.
# Sign in through OAuth when prompted and choose the organization
claude mcp add --transport http simplepdf https://simplepdf.com/mcp

# Headless agents with an API key: your organization's own URL
claude mcp add --transport http simplepdf https://$COMPANY.simplepdf.com/mcp \
--header "Authorization: Bearer $API_KEY"
The MCP server and the plain-HTTP prefill API below need the Premium plan. Either way, pre-filling needs your own storage configured. The rest of this guide follows the plain-HTTP path.
#How it works
A prefill is a set of field values that lives in your own storage (S3, Azure Blob Storage, or SharePoint), never on SimplePDF. You create a prefill through the API, upload the values straight to your storage, and share a link. When the recipient opens the link, the editor reads the values from your storage and renders the filled-in document for review.
    Your agent              SimplePDF              Your storage          Your recipient
 ┌────────────┐         ┌────────────┐        ┌─────────────────┐    ┌────────────┐
 │   .----.   │         │            │        │                 │    │  ( ^_^ )   │
 │  [ o  o ]  │         │  SimplePDF │        │  Your storage   │    │   /| |\    │
 │  [  __  ]  │         │     API    │        │ S3/Azure/ShareP │    │    | |     │
 │   '-||-'   │         │            │        │                 │    │   _/ \_    │
 │  a robot   │         │            │        │                 │    │  a human   │
 └──────┬─────┘         └──────┬─────┘        └────────┬────────┘    └──────┬─────┘
        │                      │                       │                    │
        │  1. POST /prefills   │                       │                    │
        │ ───────────────────> │                       │                    │
        │   upload + embed_url │                       │                    │
        │ <─────────────────── │                       │                    │
        │                      │                       │                    │
        │  2. upload the prefill blob (field values never reach SimplePDF)  │
        │ ───────────────────────────────────────────> │                    │
        │                      │                       │                    │
        │                      │   3. opens embed_url; editor loads values  │
        │                      │                       │ <──────────────────│
        │                      │                       │                    │
        │                      │  4. reviews, edits if needed, then submits │

 ───────────>  API call (identifiers + links only, no field values)
 ───────────────────────────────────────────>  Direct upload / download (bypasses SimplePDF)
Because the values are written directly to your storage, the field values never reach SimplePDF. The API only ever handles identifiers and links.
#Before you start
To follow this guide you need:
- An API key. Create one in your account settings under integrations. The prefill API requires a plan with API access: Premium.
- Your own storage configured (S3, Azure Blob Storage, or SharePoint). See use your own S3 bucket, Azure Blob Storage, Scaleway Object Storage, or SharePoint.
- A document with fields configured in your dashboard.
The examples below use curl; replace $COMPANY with your company identifier and $API_KEY with your API key.
#Step 1: List the fields you can pre-fill
Ask the document which fields exist and what they accept. Each field has a stable id you will reference in the prefill, a type, and (for constrained fields) the allowed options.
curl https://$COMPANY.simplepdf.com/api/v1/documents/$DOCUMENT_ID/fields \
-H "Authorization: Bearer $API_KEY"

# Response
{
"data": [
  { "id": "f_abc1455", "name": "first_name", "type": "text", "options": null },
  { "id": "f_9k2m7d3q", "name": "plan", "type": "checkbox", "options": ["checked", "xchecked", "unchecked"] },
  { "id": "f_5t8w0r6z", "name": "logo", "type": "picture", "options": null }
]
}
A field's name, and whether it is required, has a default_value, or is read_only, are configured from your dashboard. See configure document fields. Read-only fields ignore anything you send in the prefill.
#Step 2: Create a prefill
Create the prefill to get two things back: an upload object that tells you exactly where and how to send the values, and an embed_url the recipient will open.
curl -X POST https://$COMPANY.simplepdf.com/api/v1/documents/$DOCUMENT_ID/prefills \
-H "Authorization: Bearer $API_KEY" \
-H "Content-Type: application/json" \
-d '{ "context": { "agent": "intake-bot", "user_id": "u_123" } }'

# Response
{
"id": "05666d45-96d0-42ce-b24b-f1f1af228f57",
"upload": { "type": "presigned_put", "url": "https://your-storage/...", "method": "PUT", "headers": { "Content-Type": "application/json" } },
"embed_url": "https://$COMPANY.simplepdf.com/documents/$DOCUMENT_ID?prefill=05666d45-..."
}
The optional context is correlation metadata (for example which agent produced the prefill). It is delivered with the submission so you can tie it back to your own records. Keep it free of sensitive data: the field values themselves go in the blob, never here.
#Step 3: Upload the prefill values to your storage
Send a JSON blob of shape { "fields": [{ "id", "value" }] } using the upload object from the previous step. Each id comes from Step 1; each value is a string for text and checkbox fields, or a base64 data URL for signature and picture fields.
curl -X PUT "$UPLOAD_URL" \
-H "Content-Type: application/json" \
-d '{
  "fields": [
    { "id": "f_abc1455", "value": "Bob" },
    { "id": "f_9k2m7d3q", "value": "checked" },
    { "id": "f_5t8w0r6z", "value": "data:image/png;base64,iVBORw0KGgo..." }
  ]
}'
Notes on values:
- If the field lists
options(inGET /fields), the value must be one of those options. This covers checkboxes, dropdowns, and radios. - Otherwise, the value is a plain string (text fields) or a base64 data URL such as
data:image/png;base64,...(signature and picture fields). Signatures look best as a transparent PNG at roughly a 3:1 aspect ratio (for example 1200x400). - Unknown ids are ignored, and fields the document marks read-only ignore prefill values.
If the upload.type is graph_upload_session (SharePoint), also set Content-Length and Content-Range to the blob's byte length.
#Step 4: Send the link for review
Share the embed_url with the person who should review and submit. They open a document that is already filled in, make any corrections, and submit. You can open it standalone or embed it in your own app.
To get notified when they submit, configure a webhook: the submission event includes the context you set in Step 2.
#Keeping prefills tidy
Prefills are kept until you remove them, so you can re-share or audit a link. Delete one when you no longer need it:
curl -X DELETE https://$COMPANY.simplepdf.com/api/v1/documents/$DOCUMENT_ID/prefills/$PREFILL_ID \
-H "Authorization: Bearer $API_KEY"
Prefill creation and deletion are recorded in your audit logs.
That's it! Your agent can now pre-fill a PDF, and a person reviews and submits it with a human in the loop.
If you have any questions, feel free to reach out to support@simplepdf.com